The Ultimate Guide to Waterproofing a Curbless Shower

A Leak-Proof, Mold-Free Blueprint for the modern bathroom, ensuring your seamless design doesn't become a hidden catastrophe.
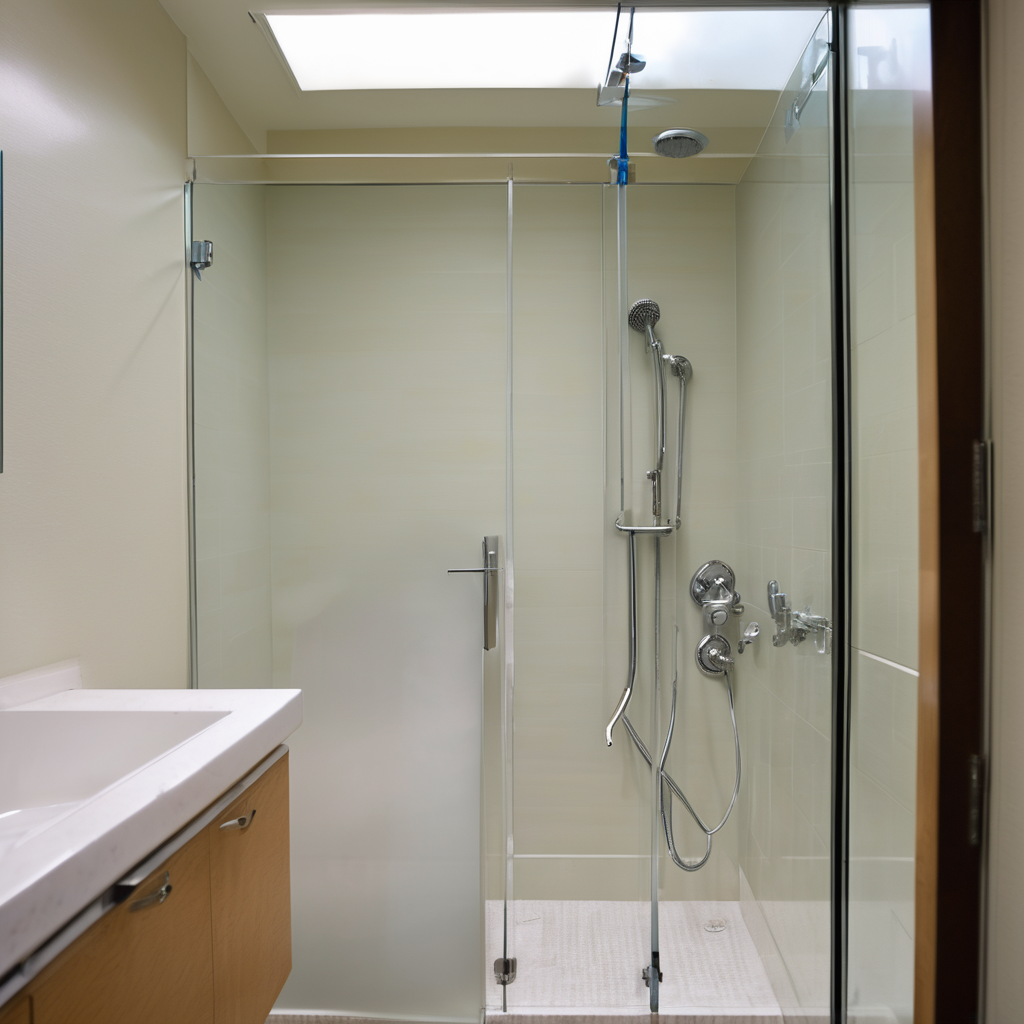
The curbless shower is the epitome of modern bathroom design—a seamless transition from floor to shower that exudes elegance, accessibility, and minimalist luxury. But beneath that beautiful tile lies a complex system with zero tolerance for error. Unlike traditional showers with a basin-like curb to contain water, a barrier-free design relies entirely on a flawless, invisible waterproofing system. One mistake, one pinhole, one unsealed corner, and you're not just facing a leak; you're facing structural rot, toxic mold proliferation, and repairs that can cost tens of thousands of dollars.
This is not a project for corner-cutting. This is your definitive, encyclopedic guide on how to properly waterproof a curbless shower to prevent future leaks and mold. We will dissect the process from subfloor to sealant, ensuring your investment is beautiful, functional, and, above all, permanent.
The Physics of Failure: Why Curbless Showers Demand Perfection
To master the solution, you must first respect the problem. A curbless shower fights a constant battle against gravity, water pressure, and capillary action. The entire system is built on one core principle: creating a completely sealed, monolithic "tank" beneath your tile that directs every single drop of water toward the drain.
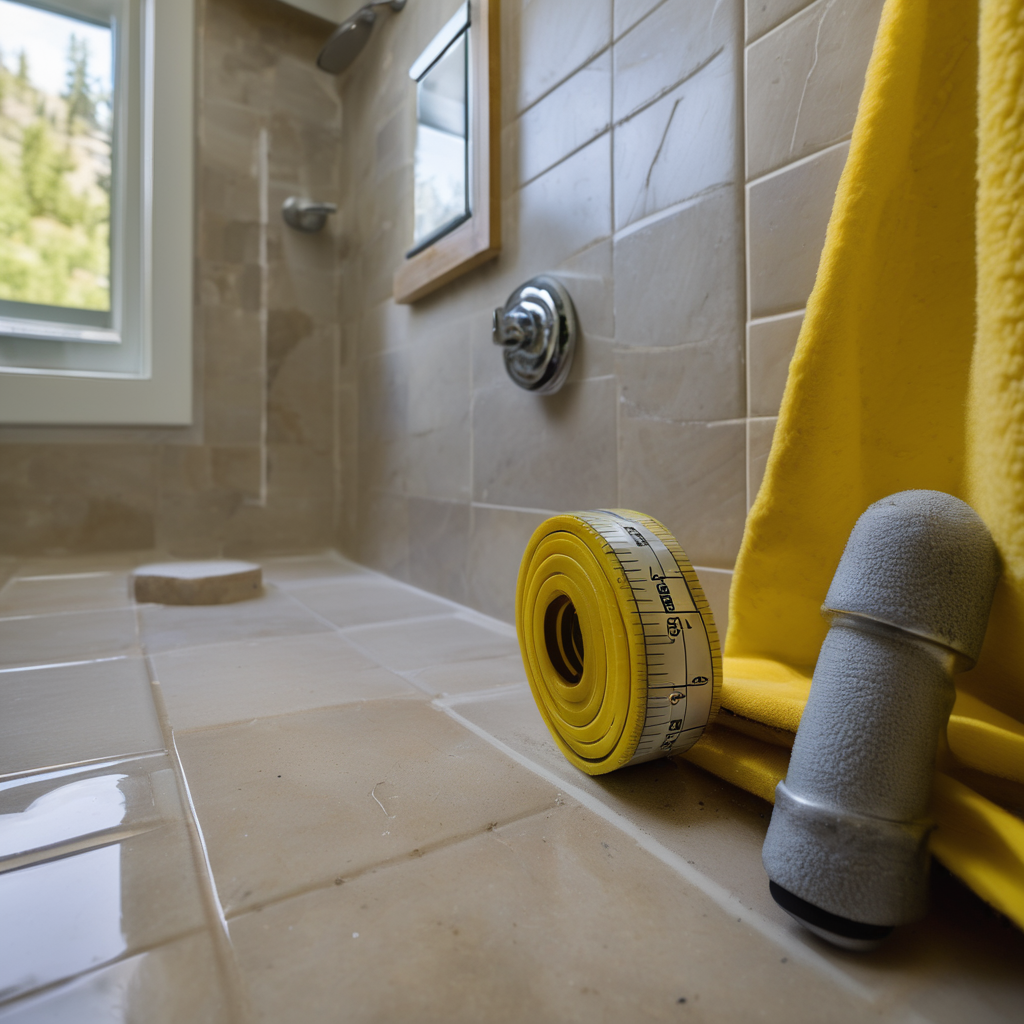
- The Imperative Slope: The floor must have a continuous, non-negotiable slope of at least ¼ inch per foot (a 2% grade) leading directly to the drain. This isn't just for the tile surface; the subfloor and waterproofing layer itself must be sloped.
- Water Containment Zone: Waterproofing must extend beyond the immediate shower area. It should cover the entire bathroom floor in smaller bathrooms and extend at least 3-6 feet in all directions from the showerhead in larger ones.
- Vapor Management: It's not just about liquid water. Water vapor can penetrate porous materials like grout and backer board. A true waterproofing system is also a vapor barrier, preventing moisture from ever reaching the wall studs and subfloor.
The Waterproofing Arsenal: Choosing Your System
There are several trusted methods for creating a leak-proof curbless shower floor. While older methods exist, modern systems offer superior reliability and integration. We'll focus on the two leading professional choices.
Method 1: Liquid-Applied Waterproofing Membrane
Think of this as a thick, rubberized paint. Applied in multiple coats over a cement backer board substrate, products like RedGard or Laticrete Hydro Ban create a seamless, monolithic waterproof layer. The key is applying it to the correct thickness (measured in "mils"), which requires a special gauge. It's excellent for complex shapes but is highly dependent on installer diligence.
- Pros: Seamless, relatively inexpensive, conforms to any shape.
- Cons: Highly susceptible to application error (too thin), can be punctured, requires careful fabric integration at seams and corners.
Method 2: Bonded Sheet Membrane (The Gold Standard)
This is the approach preferred by a majority of high-end builders and tile setters. Systems like Schluter-KERDI or LAPA-LATH provide a complete, engineered solution. It involves bonding a polyethylene membrane to the substrate using thin-set mortar. The system includes pre-formed corners, pipe seals, and banding for seams, creating a virtually foolproof "envelope." This is the most reliable step-by-step guide to waterproofing a barrier-free shower because it minimizes human error.
- Pros: Uniform thickness, high durability, integrated components, excellent vapor retarding properties.
- Cons: Higher material cost, requires understanding of the specific system's installation process.
The Blueprint: A Step-by-Step Installation (Sheet Membrane Method)
We will focus on the sheet membrane method due to its superior reliability for a curbless application. Every step is critical.
-
1
Subfloor Preparation & Recess
The subfloor must be structurally sound and rigid to prevent deflection that could compromise the waterproofing. For a true flush transition, the subfloor in the shower area must be recessed by lowering the floor joists or using tapered joists. The depth of the recess depends on the drain, tray thickness, and tile assembly.
-
2
Install the Pre-Sloped Tray & Drain
Install a pre-fabricated, pre-sloped foam shower tray. These trays are lightweight, waterproof, and guarantee a perfect slope to the drain. The drain body is integrated directly with the tray, creating the first critical seal.
-
3
Apply the Membrane to Walls and Floor
Using the manufacturer-specified thin-set mortar, embed the sheet membrane onto the shower tray and the cement backer board on the walls. Overlap all seams by at least 2 inches. Use pre-formed inside and outside corners—do not try to fold the membrane. This is one of the most common methods for preventing mold in a walk-in shower installation, as it stops moisture from ever reaching the wall cavity.
-
4
Seal All Seams and Penetrations
Cover every single seam, corner, and screw head with a 5-inch-wide strip of waterproofing band, also embedded in thin-set. Use pre-fabricated seals for the mixing valve and shower head arm. The goal is a continuous, unbroken "orange (or gray) bathtub" with no possible point of water ingress.
-
5
The Flood Test: The Moment of Truth
This step is non-negotiable and often required by code. Plug the drain with a test plug. Fill the shower base with at least 2 inches of water. Mark the water level with a permanent marker. Wait 24 hours. If the water level has not dropped (accounting for minor evaporation), your system is waterproof. If it has dropped, you have a leak that MUST be found and fixed before a single tile is laid.
Frequently Asked Questions
How far does the waterproofing need to extend outside the shower?
For a curbless shower, best practice is to waterproof the entire bathroom floor. This creates a "wet room" environment and provides maximum protection. If the bathroom is very large, the waterproofing should extend at least 3-6 feet beyond the shower's "splash zone" in every direction. At a minimum, it must extend at least one foot beyond where the door would be on a traditional shower.
Can I tile directly onto a liquid waterproofing membrane?
Yes, absolutely. Both liquid-applied and sheet membranes are designed for direct tile application. You apply a layer of appropriate thin-set mortar (modified or unmodified, depending on the membrane manufacturer's specification) directly onto the cured membrane and set your tile into it. The membrane creates a "bonded waterproofing" system, protecting the substrate below.
What is a flood test and is it really necessary?
A flood test is the ultimate quality control check and is 100% necessary. It is the only way to be certain your waterproofing is completely sealed before you cover it with hundreds or thousands of dollars in tile and labor. Skipping this 24-hour test is the biggest gamble you can take in a bathroom remodel. Finding a leak after tiling is a catastrophic failure requiring a complete tear-out.
Is a curbless shower suitable for a second-floor bathroom?
Yes, but with heightened diligence. The primary challenge is recessing the subfloor, which requires modifying the floor joists. This must be done correctly to maintain the structural integrity of the floor. Additionally, the consequences of a leak are far more severe on an upper floor. For this reason, using a premium bonded sheet membrane system and performing a meticulous flood test is even more critical for second-floor installations.
Invest in Process, Not Just Products
The success of your curbless shower hinges less on a single product and more on a meticulous, systematic process. From structural planning to the final bead of silicone, every layer builds upon the last. By understanding the principles and following these proven steps, you can confidently build a shower that delivers on its promise of seamless beauty and provides decades of leak-free, worry-free performance.
Consult a Waterproofing Expert