Definitive Guide
Common Mistakes to Avoid When Remodeling for Accessibility
Creating a home that is truly accessible is about more than just installing a ramp or adding a few grab bars. It’s a profound act of foresight and empathy—a commitment to creating a space that offers independence, dignity, and comfort for years to come. Yet, this noble goal is often undermined by common, and costly, missteps.
An accessibility remodel is an investment in quality of life. But without proper planning and expert knowledge, homeowners can inadvertently create new obstacles, spend thousands on corrections, or end up with a space that feels more clinical than comfortable. This guide illuminates the critical pitfalls and provides the insights needed to navigate your project with confidence, ensuring the result is not just compliant, but genuinely life-enhancing.
The Anatomy of a Flawed Accessibility Remodel
Understanding what errors to steer clear of when renovating for better home access is the first step toward a successful outcome. Let's break down the most frequent and impactful mistakes.
Mistake #1: A Lack of Holistic, Future-Focused Planning
The most common failure point occurs before a single hammer is swung. Homeowners often focus reactively on a single, immediate need—like getting a wheelchair over the front step—while ignoring the entire journey through the home. This "patchwork" approach is inefficient and short-sighted.
The Solution: Think in terms of "universal design" and "aging in place." Consider not just today's needs, but potential future requirements. Will mobility decrease further? Could a caregiver need space? A comprehensive plan, ideally developed with a Certified Aging-in-Place Specialist (CAPS), assesses the entire home ecosystem, from entryways and hallways to kitchens and bedrooms, ensuring a cohesive and adaptable final design.
Mistake #2: Underestimating Space & Clearance
A doorway that's an inch too narrow can render an entire room unusable for a wheelchair user. Many DIY or inexperienced renovators misjudge the critical clearances required for comfortable navigation. It’s not just about fitting through a space; it's about being able to turn and maneuver with ease.
The Solution: Adhere to established guidelines. Standard wheelchairs need a minimum of 32 inches of clear opening, but 36-inch doorways are a safer, more comfortable standard. Hallways should be at least 36 inches wide, but 42-48 inches is far better. Most importantly, factor in a 60-inch diameter (or a T-shaped) turning space in crucial areas like bathrooms, kitchens, and at the end of hallways. Measure twice, build once.
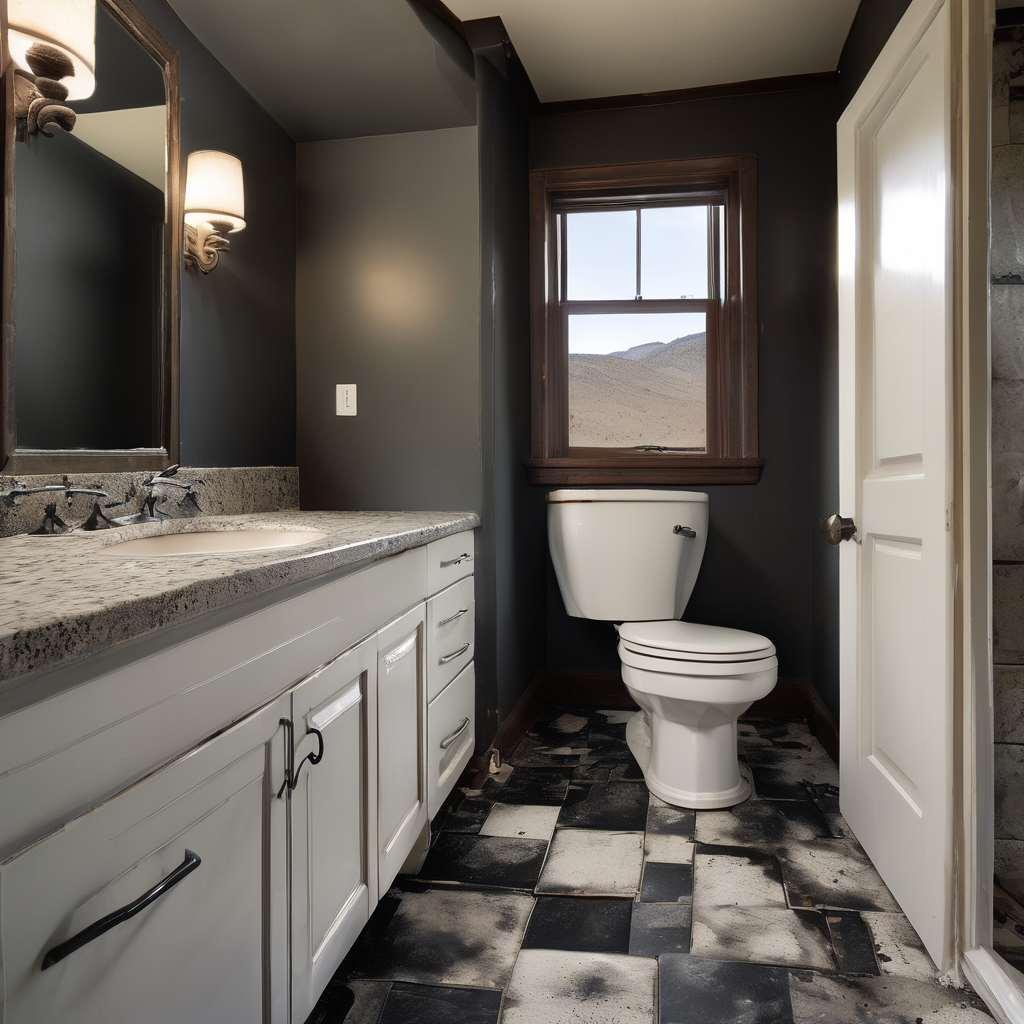
Mistake #3: Ignoring the Nuances of Kitchens & Bathrooms
These are the most complex and vital rooms for independence. A common error is simply lowering a standard vanity or countertop, which still blocks wheelchair access. Another is installing grab bars into drywall without proper blocking, creating a serious safety hazard.
The Solution: Plan for specific interactions. In the bathroom, this means a zero-entry (curbless) shower, a comfort-height toilet, and a roll-under sink. Crucially, ensure walls have solid wood blocking installed *before* the drywall goes up, providing secure anchor points for grab bars exactly where they're needed. In the kitchen, consider multi-level countertops, pull-down shelving, and appliances with accessible controls and side-hinge doors.
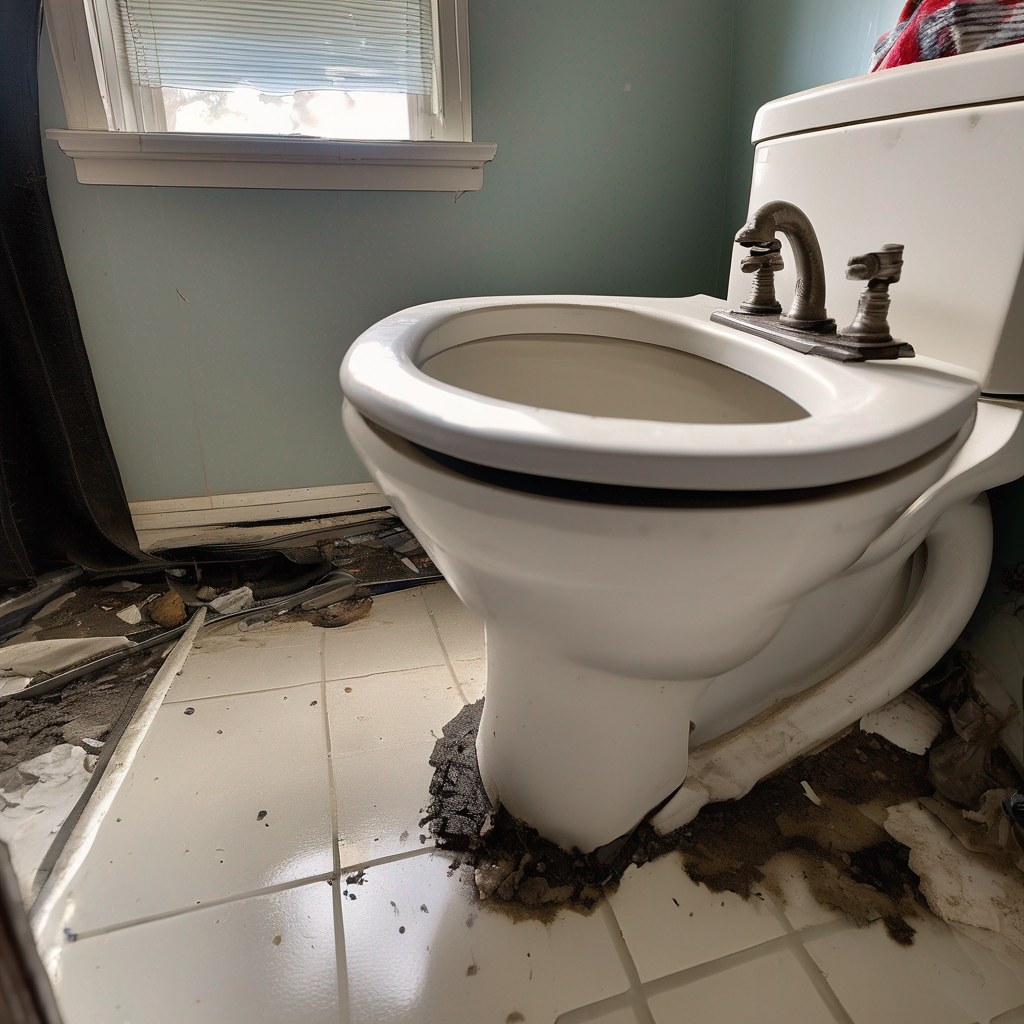
Mistake #4: Forgetting Floors and Transitions
The wrong flooring can be a significant barrier. High-pile carpets are difficult to roll over, and polished, glossy tiles become dangerously slick when wet. Even a small half-inch threshold between rooms can be a major obstacle or tripping hazard.
The Solution: Prioritize smooth, hard, non-slip surfaces. Luxury Vinyl Plank (LVP), low-pile carpet, and matte-finish tiles with a high coefficient of friction (COF) rating are excellent choices. During the remodel, insist on eliminating all thresholds for seamless, zero-step transitions between every room and into the shower. One of the most important accessibility renovation blunders to sidestep is creating these trip hazards.
Mistake #5: The "It Looks Medical" Aesthetic Fallacy
A huge deterrent for many homeowners is the fear that an accessible home must look like a hospital. They avoid necessary modifications because they associate them with sterile, institutional-looking grab bars and clunky plastic shower seats. This is one of the most unfortunate and outdated errors to prevent in accessible home design.
Universal Design is Beautiful Design The modern accessibility market is filled with stunning, design-forward products. Grab bars come in finishes like matte black, brushed nickel, and oil-rubbed bronze. Curbless showers with linear drains are a hallmark of luxury spa design. Rocker light switches are both easier to use and more elegant.
Integrate, Don't Intrude The goal is to integrate accessible features so seamlessly that they are invisible to the casual observer but invaluable to the user. A well-designed remodel enhances the home's aesthetic while boosting its function, proving that safety and style can coexist beautifully.
Frequently Asked Questions
Navigating an accessibility remodel brings up many questions. Here are answers to some of the most common inquiries.
What is the difference between ADA compliance and universal design?
Do I need a special contractor for an accessibility remodel?
What are the most important features to prioritize for aging in place?
- A zero-step entry into the home.
- A full bathroom on the main floor with a curbless shower, grab bars, and a comfort-height toilet.
- Wider doorways and hallways (36" minimum).
- Improved lighting throughout the home, including task lighting in the kitchen and nightlights in hallways.
- Lever-style door handles and faucets, which are easier to operate than knobs.
How much does an accessibility remodel cost?